Adding a new email forwarder from Doteasy admin panel
If you are the administrator of the Doteasy web hosting account, you can customize the email forwarding settings for all of your domain email accounts from your Doteasy admin panel.
- Log into your Doteasy Member Zone
- In the Email section, click on Manage Email Accounts.
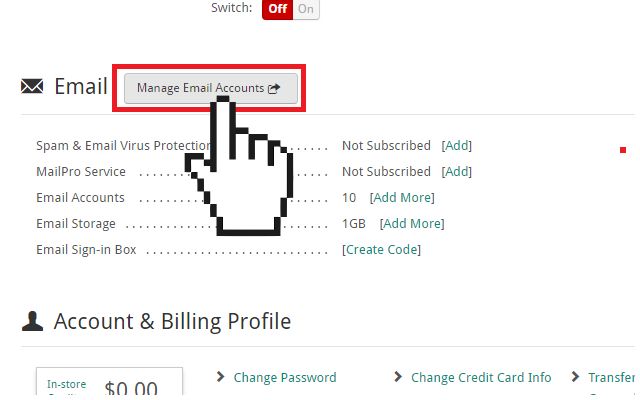
If you are on the cPanel mail platform: You will be redirected to your account cPanel dashboard.
- In the Email section, click on Forwarders.
- On the Forwarders page, click Add Forwarder to create an email account forwarder.
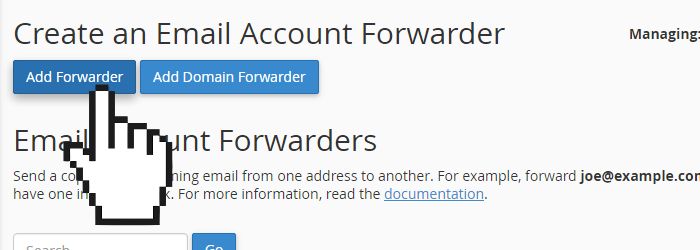
- Enter the email address using the Address to Forward: field and the Domain drop-down menu.
- Check the Forward to Email Address option and enter the destination email address (this is the address to which the email will be forwarded to).
- When ready, click Add Forwarder to complete the process.
If you are on the SmarterMail platform:
- Click on Settings on the side menu and then click Users.
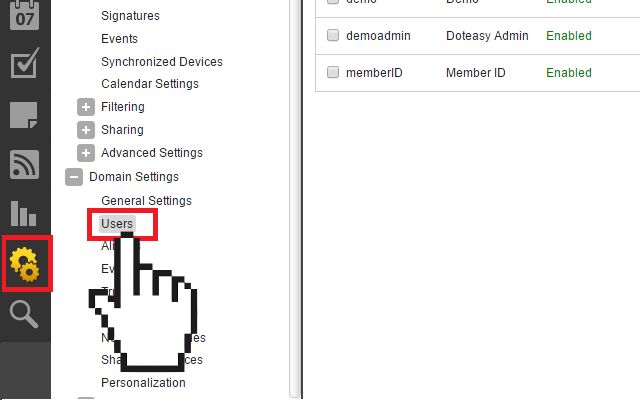
- Click New to add a new user.
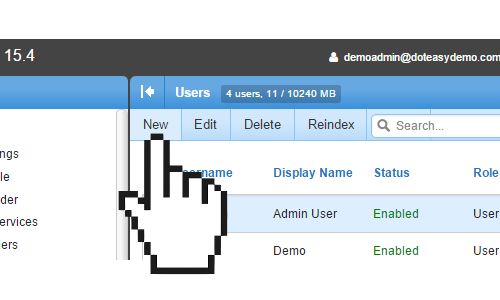
- Create the new email account as you would by providing the username, password, etc.
- Click on the Forwarding tab and enter the destination address in the Forwarding Address field.
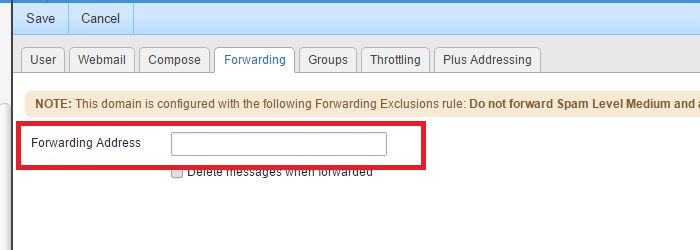
- When ready, click Save to complete the process.
Customizing email forwarding settings from the webmail dashboard
Email forwarding settings can also be customized from the email account's webmail dashboard.
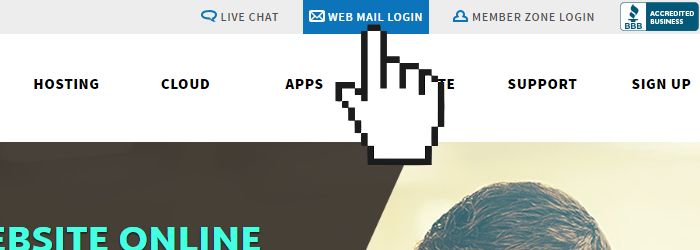
- Go to the Doteasy homepage and click on Web Mail Login.
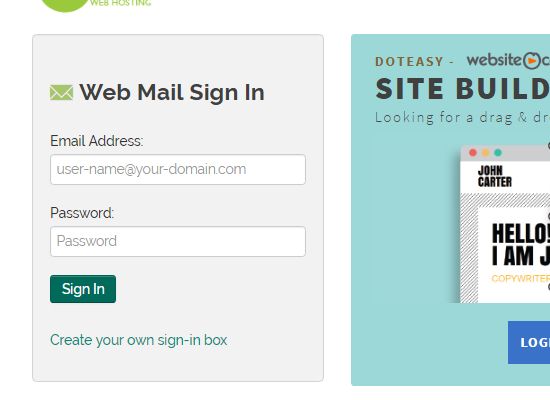
- Log into webmail using the email address and password of the account you want to edit email forwarding settings.
If you are on the cPanel mail platform: You will be logged in to your preferred webmail application (RoundCube or Horde)
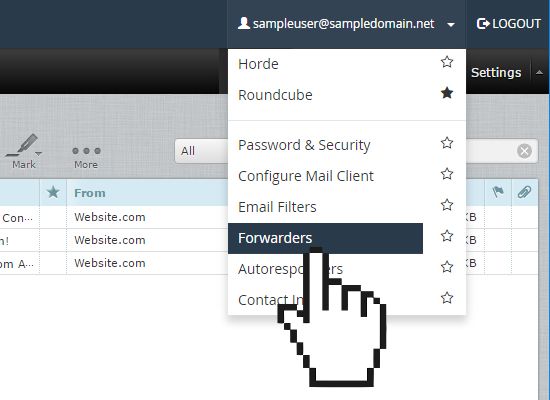
- Click on the top username drop-down menu and select Forwarders.
- On the ** Create an Email Account Forwarder** page, click Add Forwarder.
- Enter the destination email address into the Forward to Email Address field.
- When ready, click Add Forwarder to save the changes.
If you are on the SmarterMail platform: You will be logged in to your SmarterMail webmail dashboard.
- Click on Settings on the side menu and under My Settings, select Account Settings.
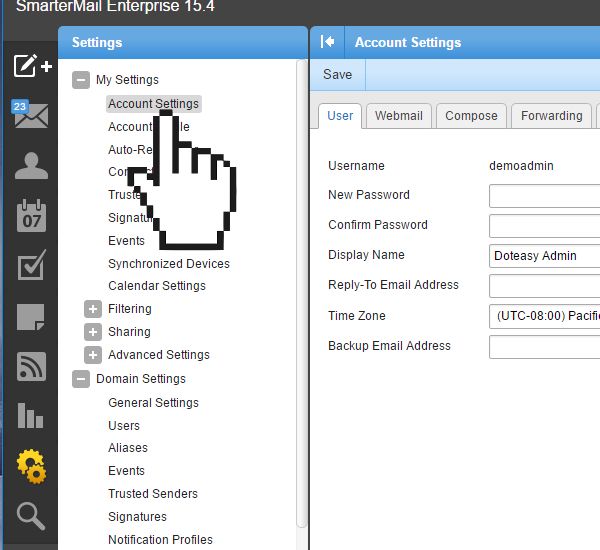
- Click on the Forwarding tab and enter the destination address in the Forwarding Address field.
- When ready, click Save to save the changes.
