You can customize your email content and spam filtering rules from your SmarterMail interface.
Creating a domain-level email filter
Domain level email filters allow you to set up filters and rules for all email addresses under a domain name. Domain email filters are processed on all incoming email messages sent to all email accounts under the same domain name.
If there are domain-level email filters in place, the evaluation of domain filters takes place before the evaluation of account filters.
Because many users may prefer to set their own filters, you may want to keep domain-level filters to a minimum and only to items that affect the entire domain.
Domain level email filters can only be created from your domain admin email account.
-
Log into your Doteasy Member Zone
-
In the Email section, click Manage Email Accounts. You will be logged into your admin email account’s SmarterMail interface.
-
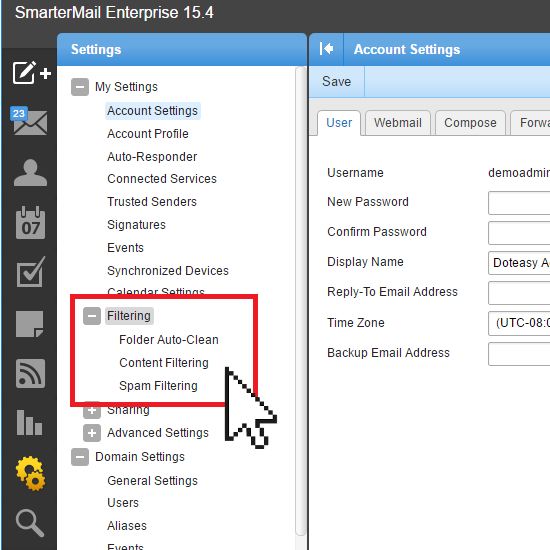
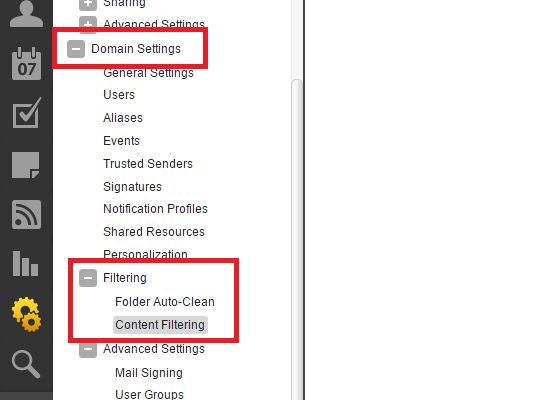
Select Settings from the left menu and expand the Domain Settings options.
-
Select Filtering.
-
Select Content Filtering.
-
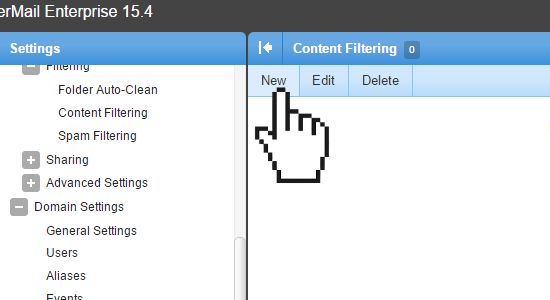
On the Content Filtering page, click New to add a new filter rule.
-
Select the filter criteria from the page. Note that multiple criteria can be chosen and you can specify on the next page whether all criteria must be met, or only one of the criteria for the filter to be activated. When ready, click Next to proceed.
-
If you have chosen multiple criteria in Step 7, you can now specify if you want to use the “And” modifier or the “Or” modifier.
- If you choose the “And” modifier, it requires all criteria to be met for the filter to activate.
- If you choose the “Or” modifier, just one criteria is needed to activate the filter.
-
For each of the criteria you have chosen in Step 7, you will need to enter the details. For example, if you chose to filter on From address, you will need to enter an email address in the box. When ready, click Next to proceed.
-
On this page, you will see a summary of your new filter rule. You will need to enter a name for the rule.
-
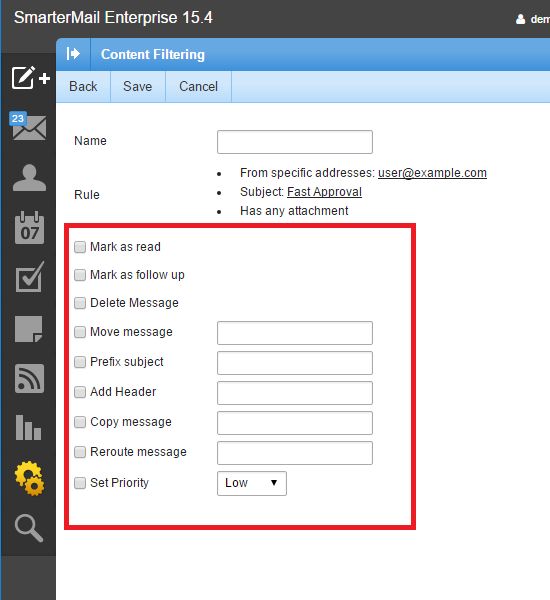
Next, choose one or more actions to take when a message matches this filter. When ready, click Save to save the new filter rule.
Creating an account-level email filter
Account level email filters allow you to set up filters and rules that are specific for that email account.
Note, if there are domain-level email filters in place, the evaluation of domain filters takes place before the evaluation of account filters.
-
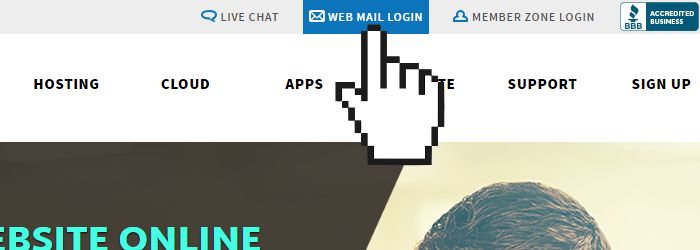
Go to the Doteasy homepage and click on Web Mail Login.
-
Log into webmail using the email address and password of the account you want to create email filtering rules.
-
From the left menu, select Settings and expand the Filtering options.
-
Select Content Filtering.
-
On the Content Filtering page, click New to add a new filter rule.
-
Select the filter criteria from the page. Note that multiple criteria can be chosen and you can specify on the next page whether all criteria must be met, or only one of the criteria for the filter to be activated. When ready, click Next to proceed.
-
If you have chosen multiple criteria in Step 6, you can now specify if you want to use the “And” modifier or the “Or” modifier.
- If you choose the “And” modifier, it requires all criteria to be met for the filter to activate.
- If you choose the “Or” modifier, just one criteria is needed to activate the filter.
-
For each of the criteria you have chosen in Step 6, you will need to enter the details. For example, if you chose to filter on From address, you will need to enter an email address in the box. When ready, click Next to proceed.
-
On this page, you will see a summary of your new filter rule. You will need to enter a name for the rule.
-
Next, choose one or more actions to take when a message matches this filter. When ready, click Save to save the new filter rule.
Understanding filter actions
For each filter rule you create, you can choose from a selection of actions.
| Action | Description |
|---|---|
| Mark as read | Automatically marks the message as read and the message will not show up in your inbox as unread |
| Mark as follow up | Automatically flags the message for follow-up, making the message easy to find in your inbox |
| Delete message | Deletes the message so that it will never arrive at your inbox (Note that messages deleted through a filter are not recoverable) |
| Move message | Delivers the incoming message to a specified folder you enter in the comment box |
| Prefix subject | Will append a prefix to the subject line of the email. This action is useful for categorizing emails as the subject line will be changed to include the text you specified in the comment box |
| Add header | Includes an email header into the message |
| Copy message | Forwards a copy of the message to another email address and leaves a copy of the message in your account as well |
| Reroute message | Forwards the message to another email address. Note that this action does not store a copy of the email in the original intended account |
| Set priority | Will automatically change the priority of the message to the specified setting |